Overview
A buying-signals agent finds people who show buying signals and match your ideal customer, every weekday. AI fills in most screens for you; you check each one.
New account? You already went through the same screens during sign-up, from Step 4 on. Use this guide to add another agent or to start over.
Good to know: all buying-signals agents of a brand share one ideal customer. Setting up a new agent replaces it for the others too.
What you need:
- your business page filled in (Settings → Your business)
- a LinkedIn account, if you want to send LinkedIn messages (you can add it later)
Step 1: Open the agent gallery
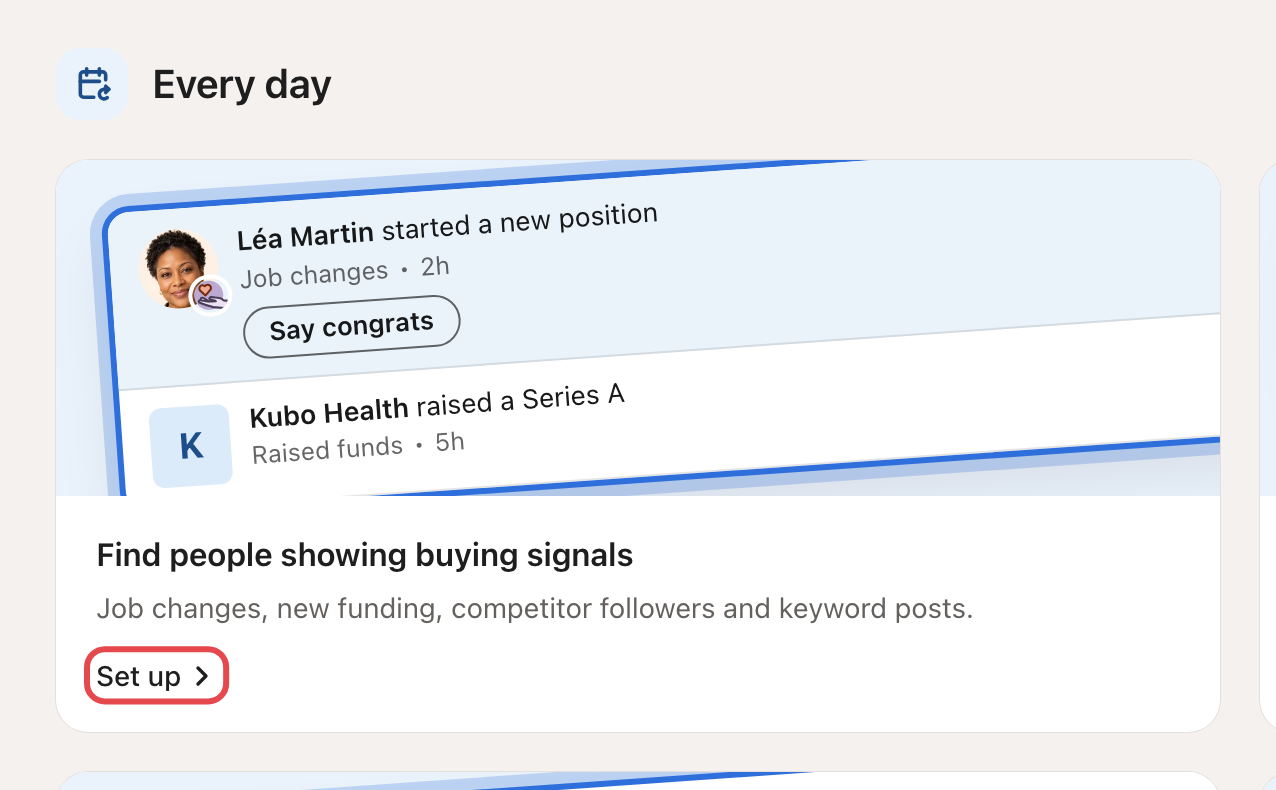
Go to Agents and click New agent. On Find people showing buying signals, click Set up.
Step 2: Choose the agent type
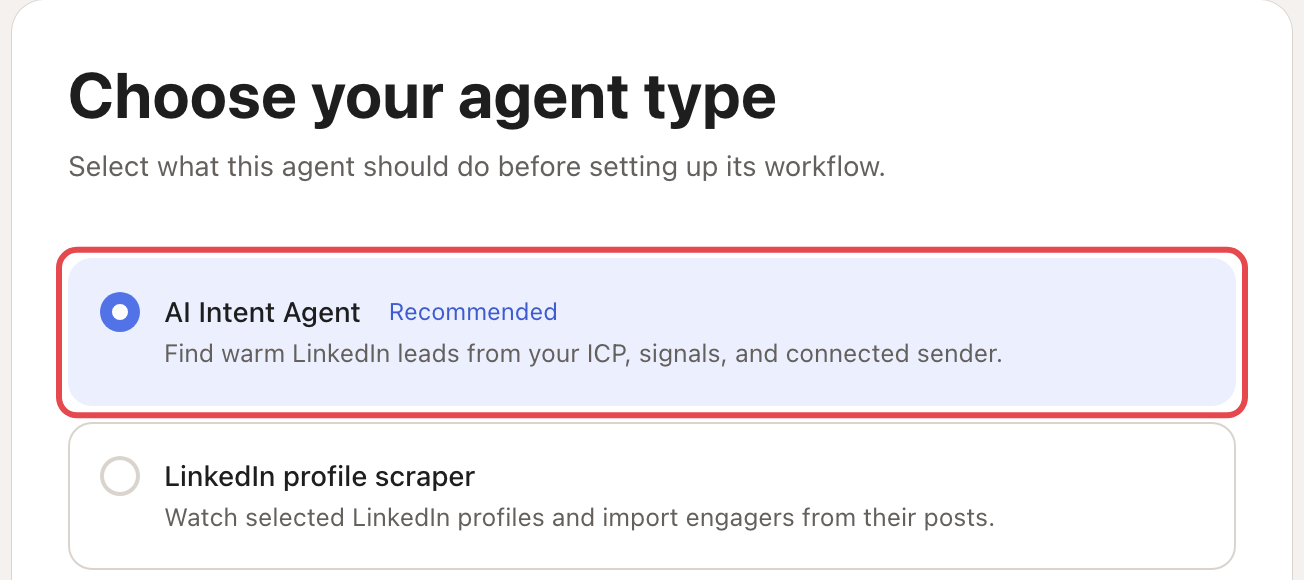
Pick AI Intent Agent (marked Recommended) and click Continue.
→ Learn more: How agents work
Step 3: Let AI prefill it
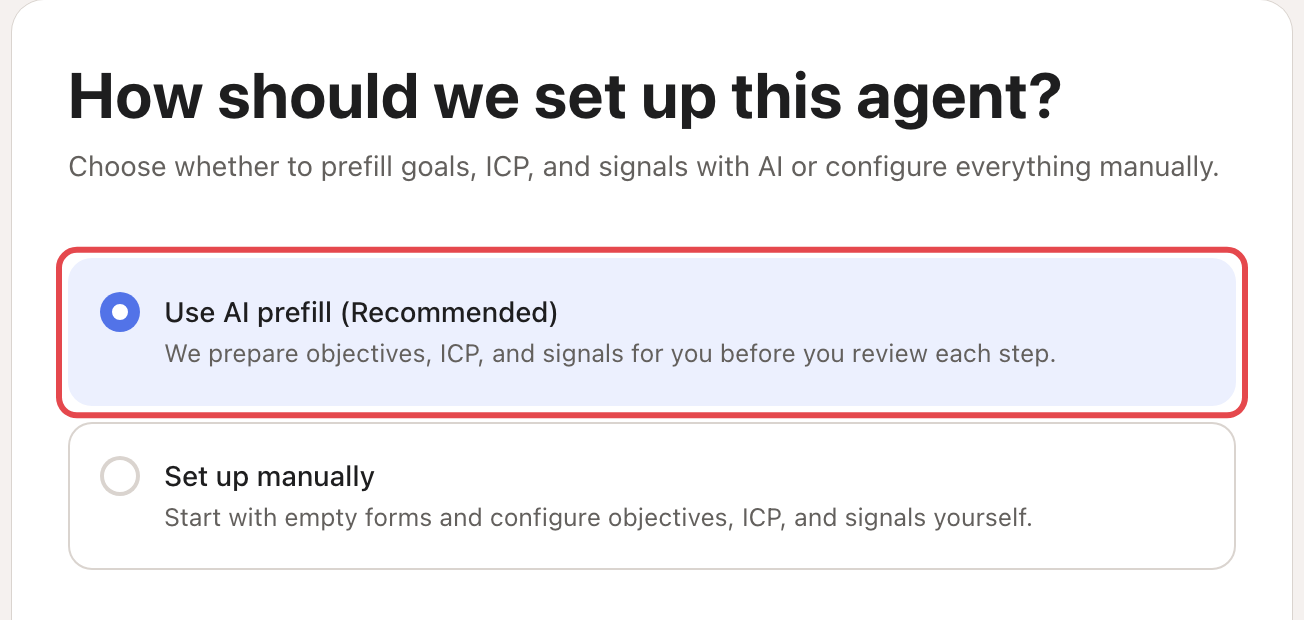
Choose Use AI prefill (Recommended). Looply prepares your goals, ideal customer and signals from your business page. You check each one in the next steps. Prefer to start empty? Choose Set up manually.
Step 4: Define your objectives
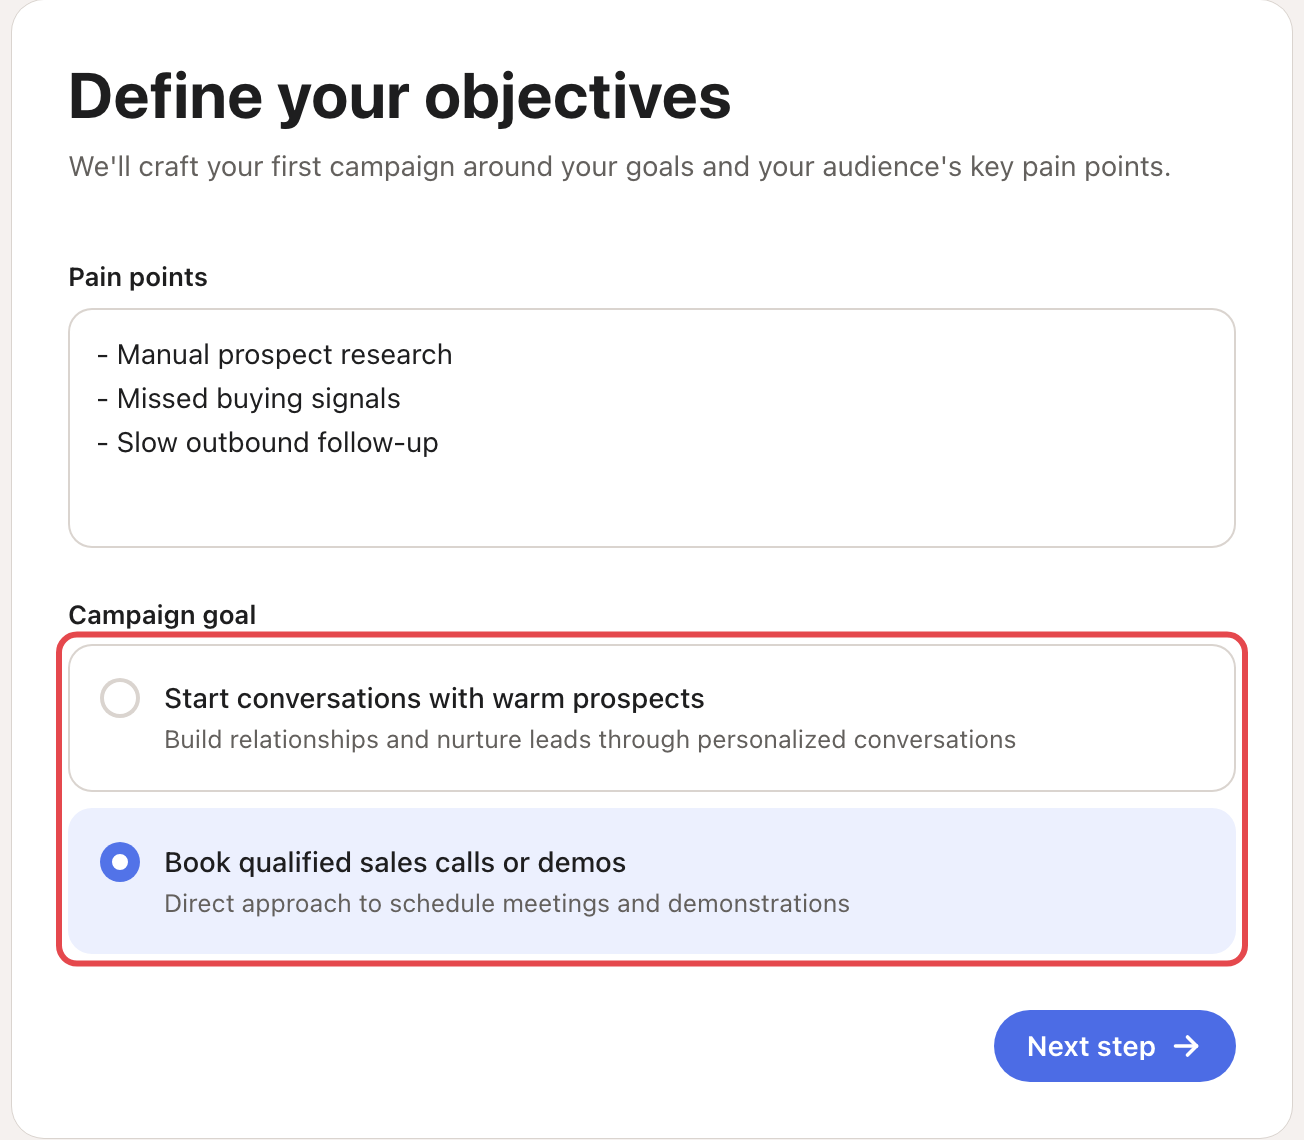
Pick a Campaign goal: Start conversations with warm prospects or Book qualified sales calls or demos. Then list your buyers' Pain points, one per line. Looply writes your first messages around them.
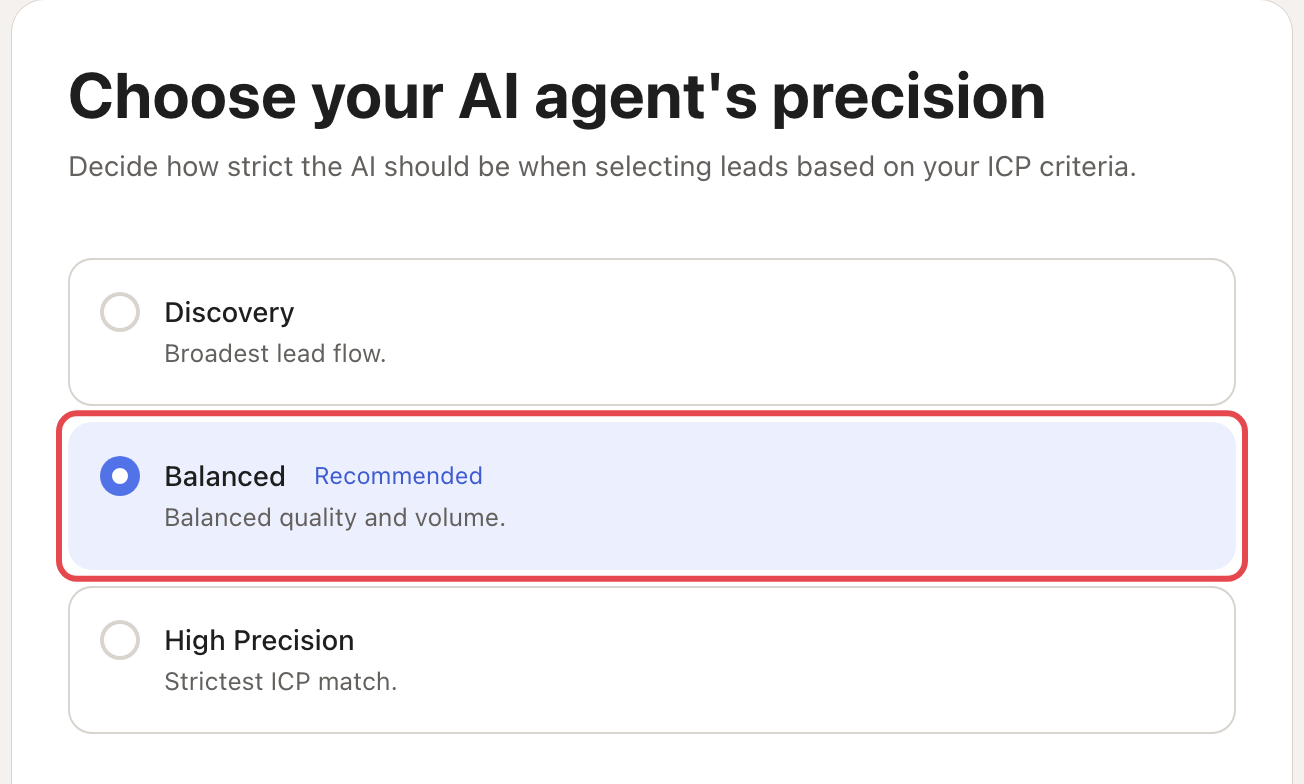
Step 5: Choose the precision
| Precision | Who it keeps |
|---|---|
| Discovery | The widest flow. People outside your target countries may still be explored. |
| Balanced | Quality and volume. Target countries must match. Start here. |
| High Precision | The strictest. Country, job title and industry must all match. |
→ Learn more: How agents work
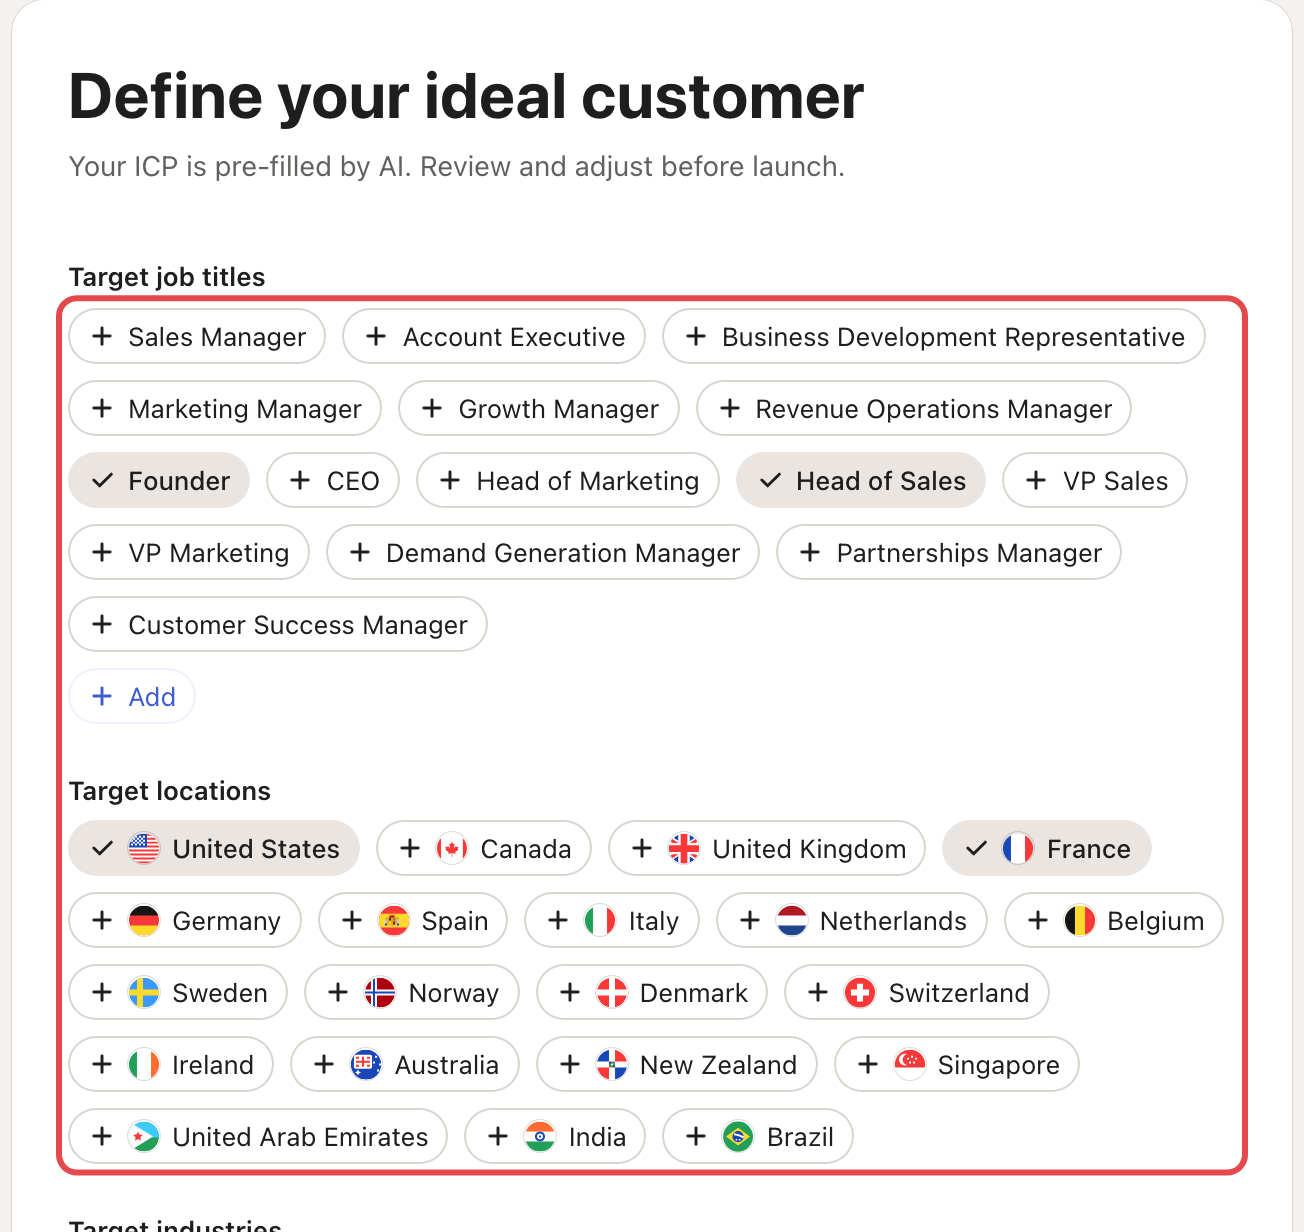
Step 6: Check your ideal customer
Review the job titles, locations, industries and company sizes Looply filled in. Remove anything too broad. Add the titles your buyers really use on LinkedIn.
Step 7: Pick what to detect
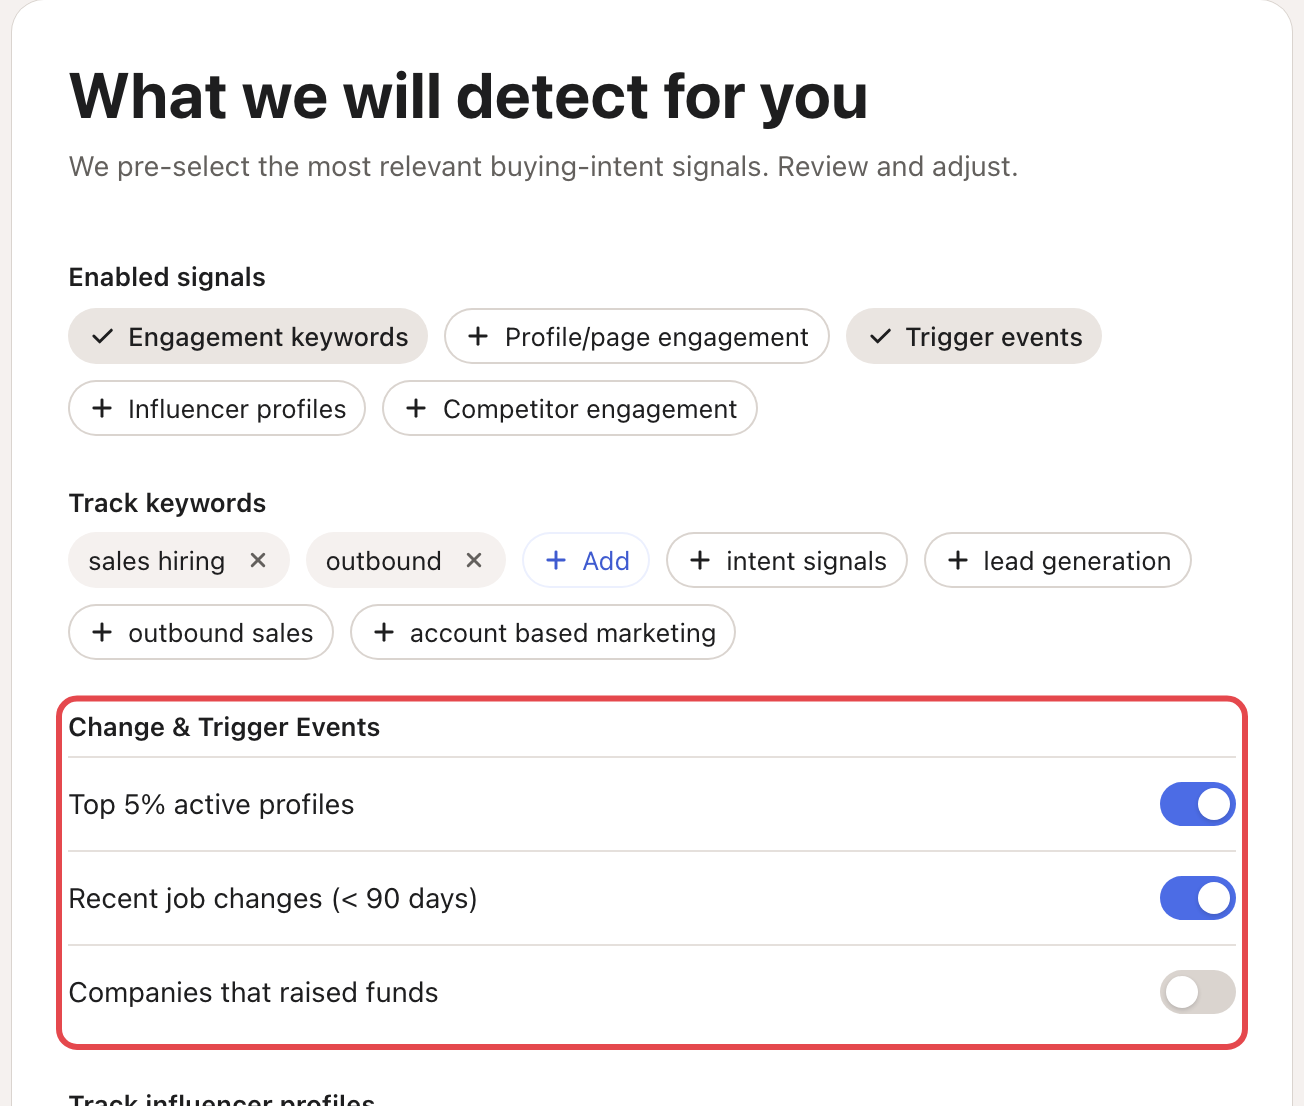
Looply pre-selects signals. Keep the ones that fit your buyers:
- Engagement keywords: people engaging with LinkedIn posts on your topics.
- Profile/page engagement: people engaging with your own LinkedIn page and profile.
- Competitor engagement: people engaging with your competitors' LinkedIn pages.
- Influencer profiles: people engaging with experts in your niche.
- Change & Trigger Events: Top 5% active profiles, Recent job changes (< 90 days) and Companies that raised funds.
Pick specific keywords ("cold email deliverability") rather than broad ones ("sales").
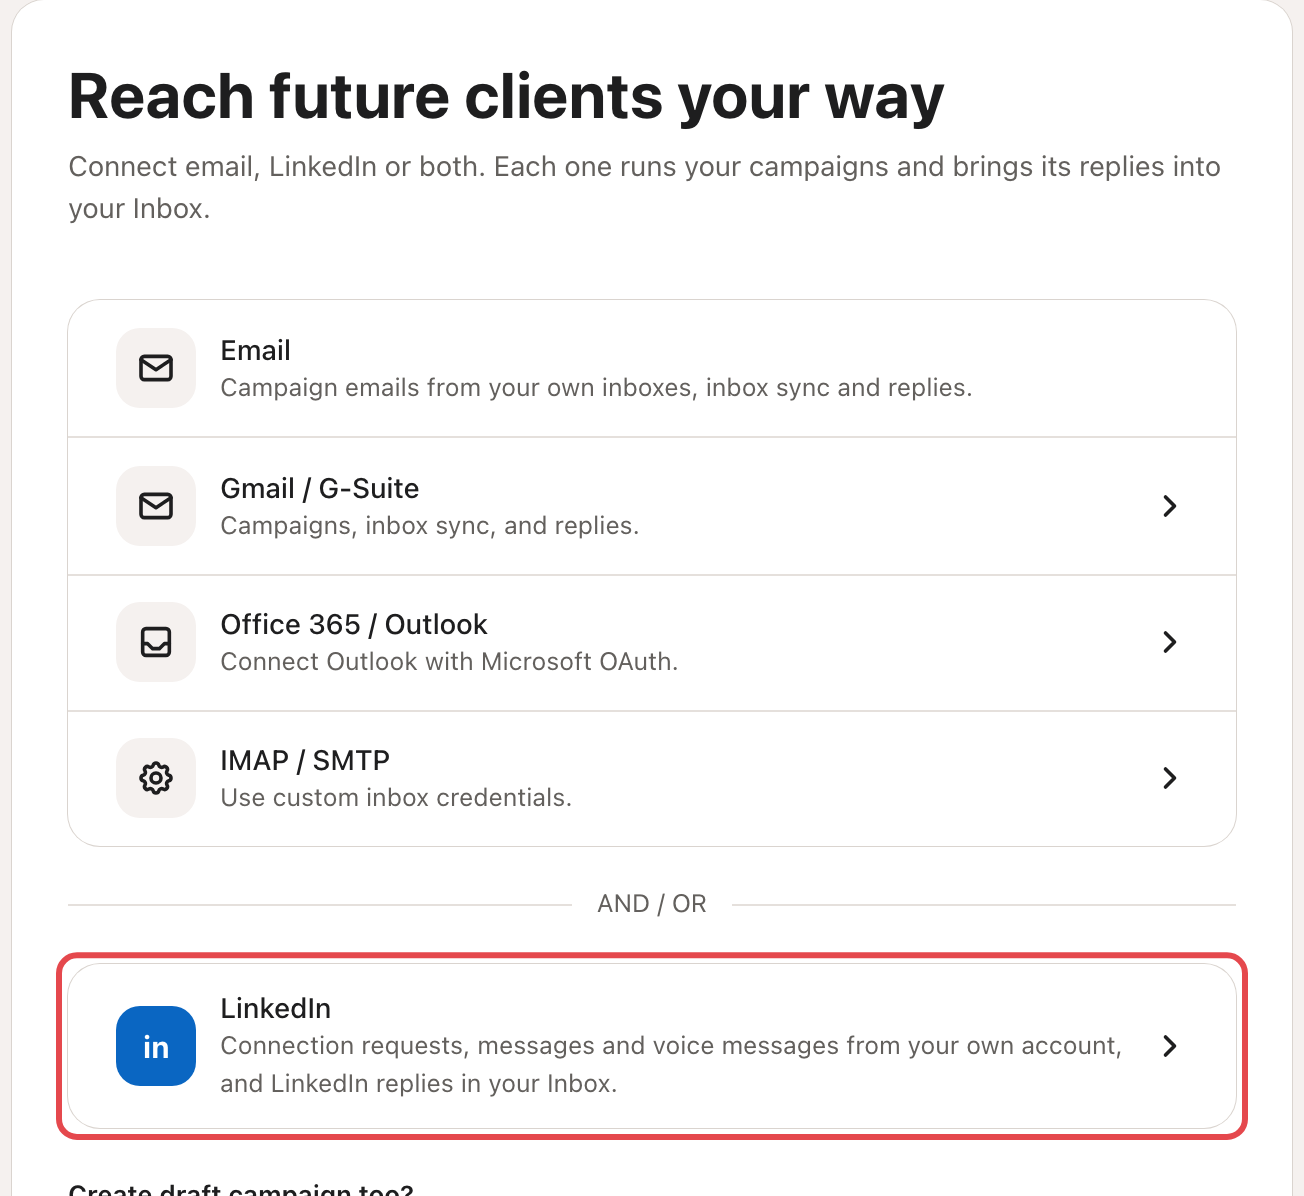
Step 8: Choose your channels
Connect an inbox (Gmail / G-Suite, Office 365 / Outlook or IMAP / SMTP), LinkedIn, or both. Without LinkedIn, this screen is called Reach future clients by email.
Looply then asks Create draft campaign too?
- Choose Yes to get a campaign ready for this agent. It starts in Review mode, so you approve each message first.
- Choose No to make one later.
No account connected yet? Click Skip for now.
→ Learn more: Connect your LinkedIn account
Step 9: Launch
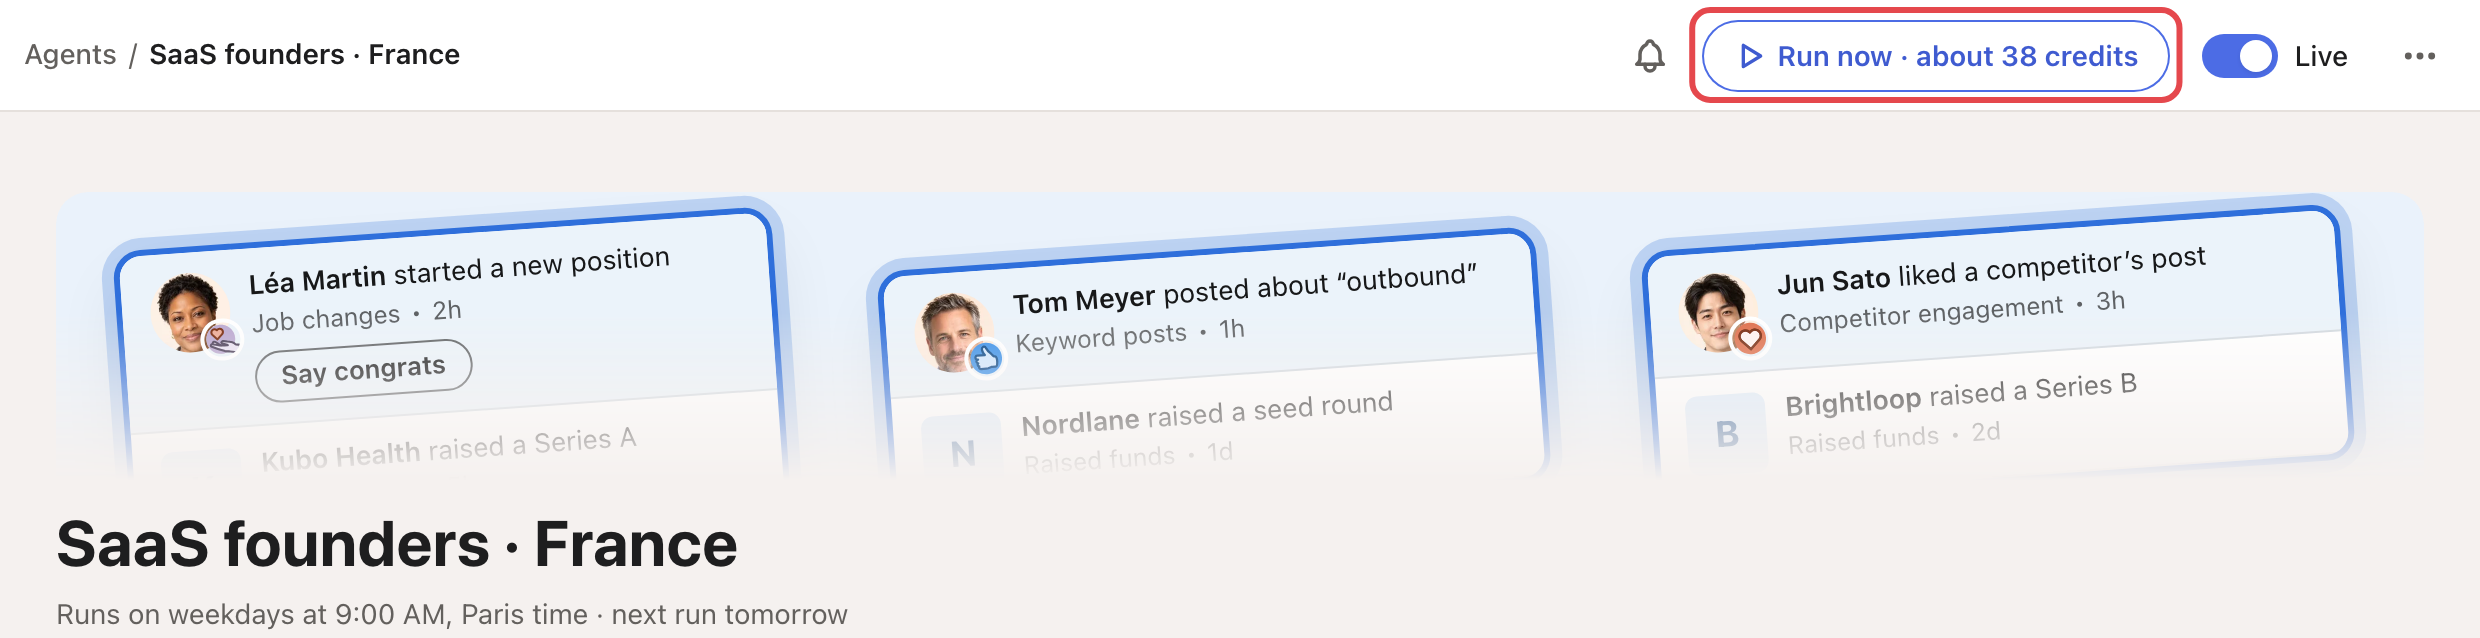
Looply finishes the set-up and queues the first run. The agent's page opens and shows when it runs next. If you created a draft campaign, its page opens instead.
What to expect
- After each run, new people appear in Contacts → From agents. You can follow every run in the Runs tab.
- The agent runs every weekday at its hour. Job changes and the most active profiles are checked once a week.
- Each person gets an ICP score out of 10. By default, people under 6.5 are left out.
- The agent itself sends nothing. Messages go out through a campaign; in Review mode you approve each one in Copilot.
Frequently asked questions
Do I need LinkedIn to use this agent? Not to find people. You need a connected LinkedIn account to send LinkedIn messages.
How many agents can I have? 2 on Growth and 5 on Scale.
Can I change the settings later? Yes. Open the agent and change its target audience, signals, precision or run schedule at any time.
Does it use credits? Yes, when it finds emails. That is on by default and costs 1 credit per email found. Run now shows its cost, or an estimate, first. With no credits left, the agent shows Needs credits.
My agent found nobody. What now? Open the Runs tab first, then see How agents work, "My agent finds too few people".
Related articles: How agents work · Create a campaign · Review mode, Autopilot and Copilot