Connect the LinkedIn account you want Looply to send from. Then give it a sending schedule, so its campaigns can start.
Before you start
- Use the LinkedIn account you will send from.
- Connect from where you usually use LinkedIn: no new VPN, no travel location.
- Growth includes 2 LinkedIn accounts, Scale 5.
Step 1: Open LinkedIn accounts
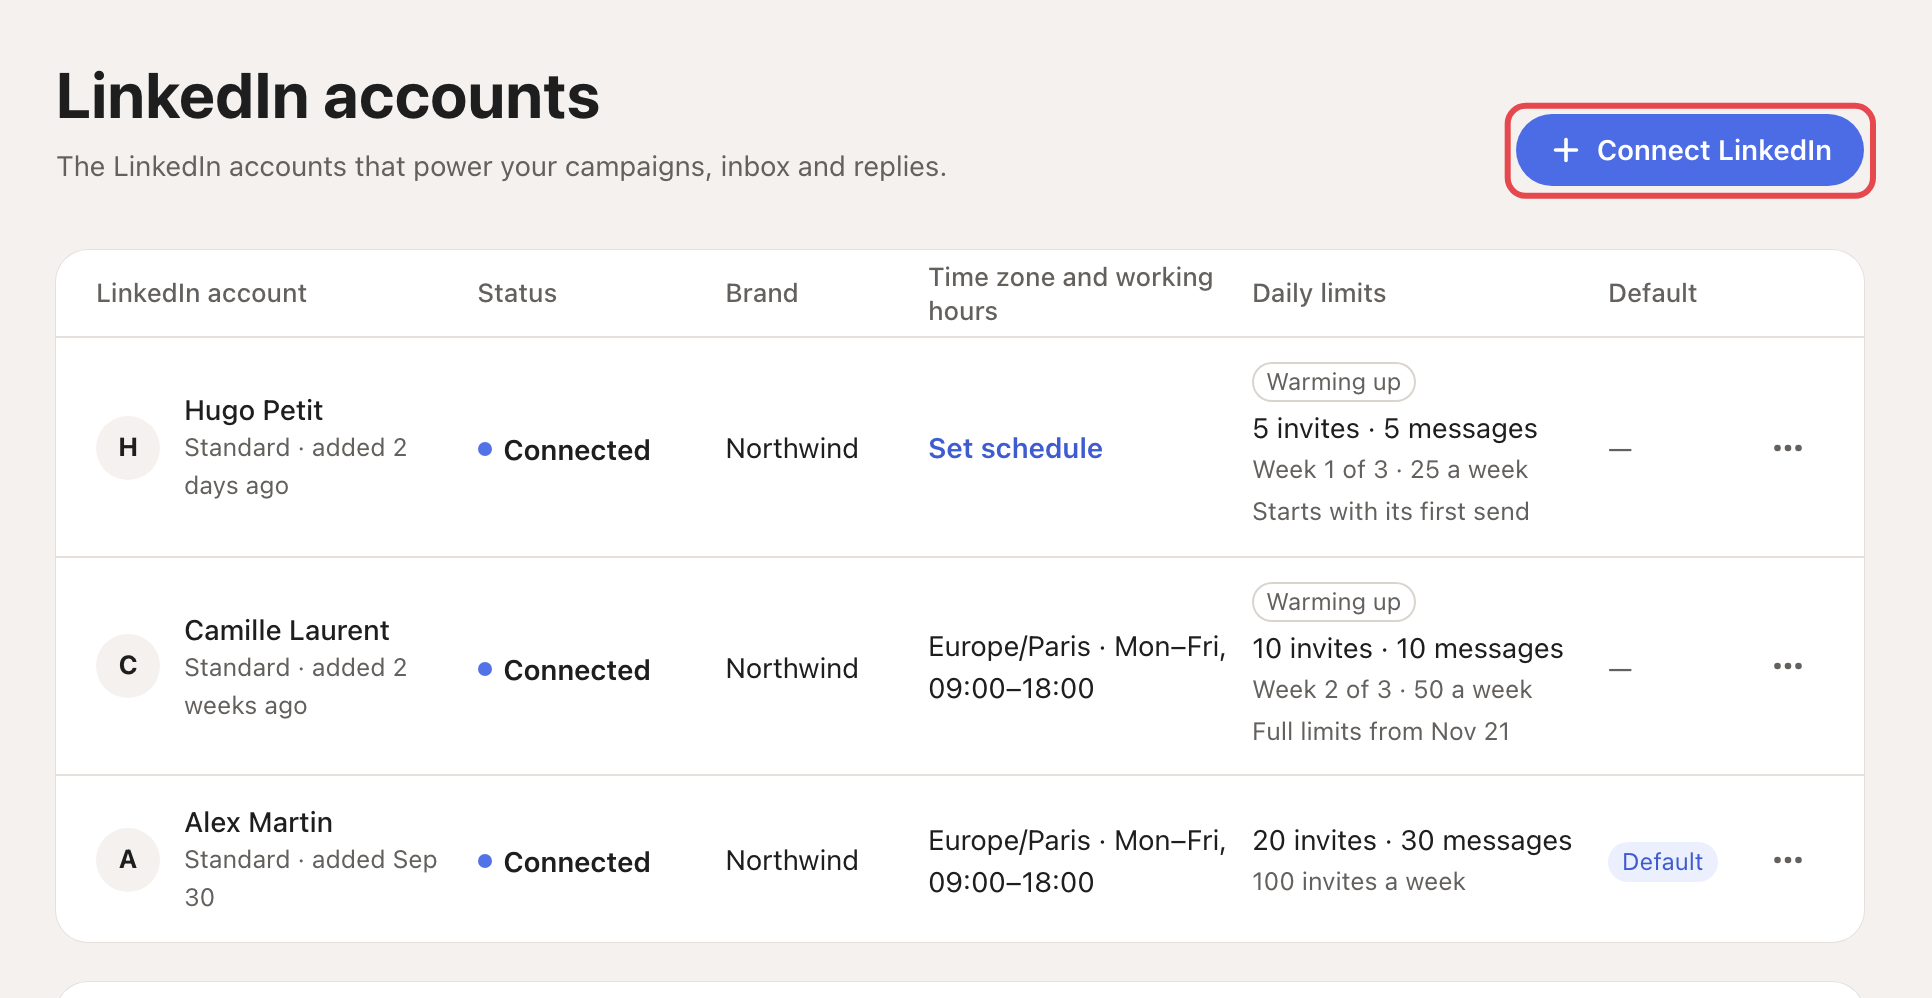
Go to Settings → LinkedIn accounts and click Connect LinkedIn. A secure sign-in page opens.
Step 2: Sign in
Sign in with your LinkedIn email and password. If LinkedIn asks for a code or a check on your phone, complete it on that page.
Step 3: Check it is connected
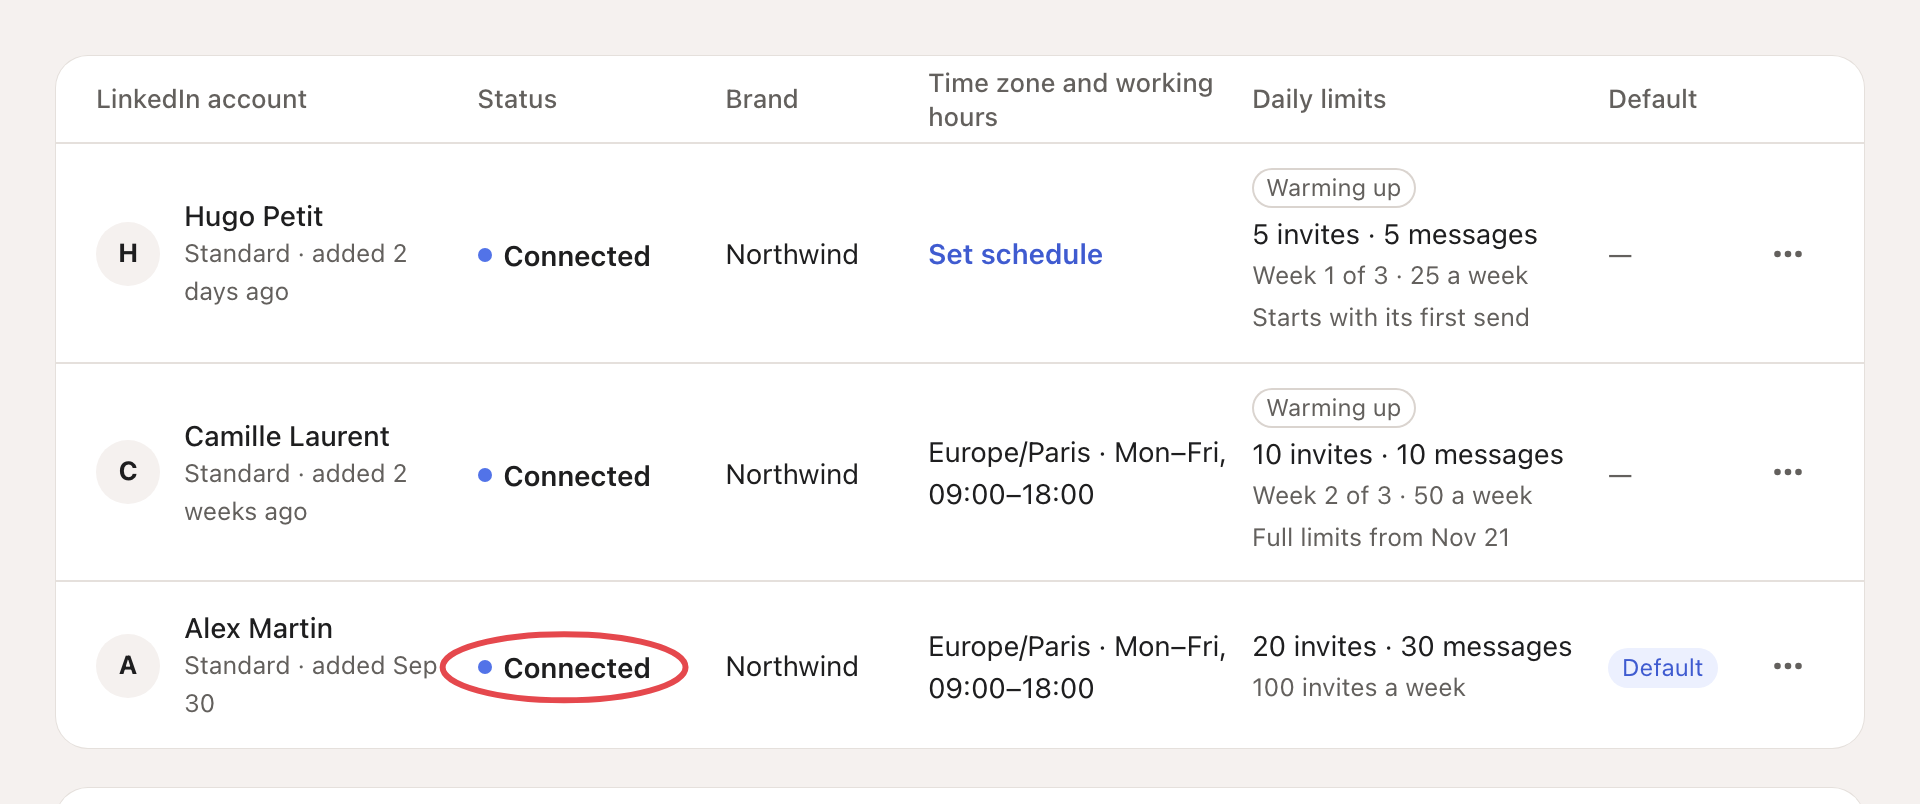
You come back to Looply and see LinkedIn connected. The account's status says Connected.
Step 4: Set when it may send
Click Set schedule in the account's row (or ⋯ → Sending schedule and limits). Pick your Time zone, Days and Hours, then Save.
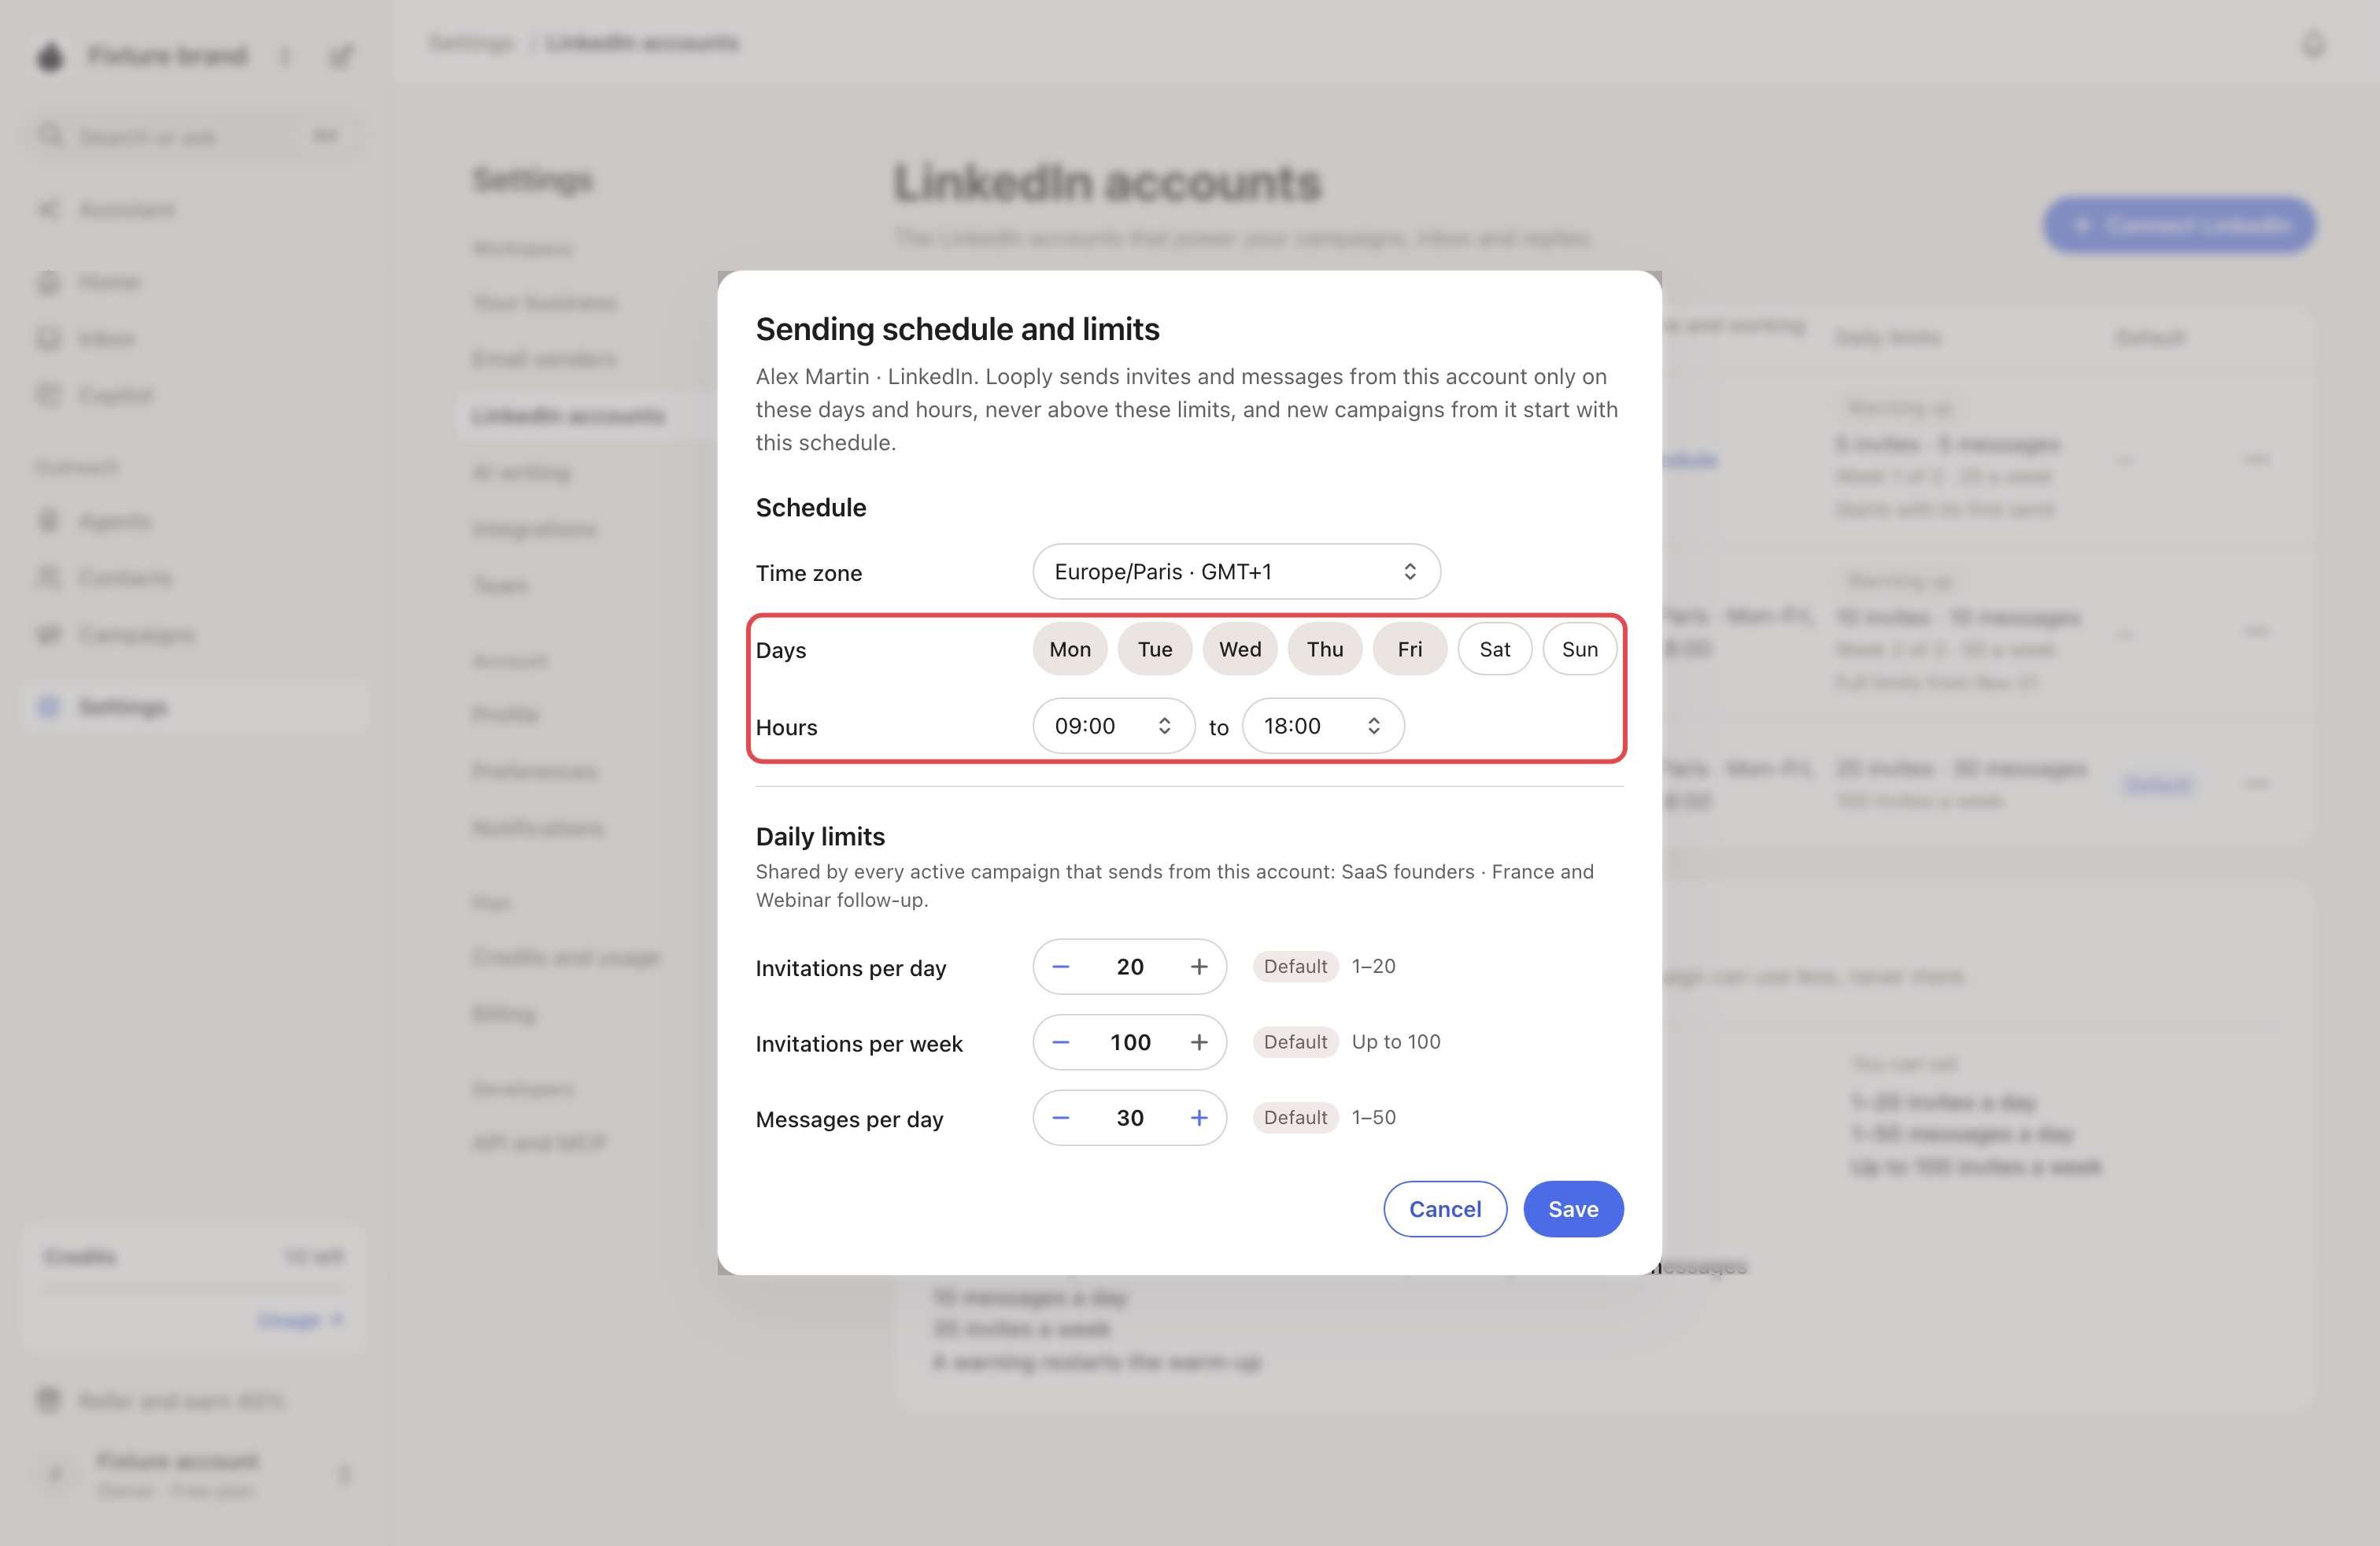
Before you launch a campaign: an account without a sending schedule sends nothing. Looply tells you: "Campaign invites and messages from this account wait until it has a sending schedule."
You can also connect LinkedIn while creating a campaign (the Sending step) or during account set-up.
What happens next
- The account starts a 3-week warm-up with its first send. See Warm-up and daily limits.
- Every campaign on this account shares its daily limits.
If something goes wrong
| What you see | What to do |
|---|---|
| "LinkedIn connection unavailable" | Wait a few minutes, then click Connect LinkedIn again. |
| "Your plan’s LinkedIn account limit has been reached." | Disconnect an account you no longer use, or move to Scale (5 accounts). |
| LinkedIn keeps asking for a check | See LinkedIn statuses and warnings. |